· Dana Whitfield
DIY snake hook: how to build one, and where homemade versions fail
Let us settle the obvious conflict of interest first. This site sells a snake hook for $24.95, and this page tells you how to avoid buying it. Both things are true at once, because a badly built homemade hook does more damage to a snake than no hook at all, and a well built one is genuinely fine. If you have a bench, a vise and an hour, a DIY hook will hold a corn snake for years. What follows is how to get the good version rather than the version that shreds ventral scales.
The three builds that actually work
The first build is the rod and bend. Take a length of solid steel or aluminum rod, roughly a quarter inch in diameter, cut it to 24 in, and bend the last 2 in into a curve in a vise. Slide a length of bicycle handlebar grip or heat shrink over the other end for the handle. This is the cleanest build because there are only two operations and the shaft is one continuous piece with nothing to come loose.
The second is the golf club conversion, which is the most common answer in every reptile forum for good reason. An old iron already gives you a rigid tapered shaft, a factory grip and a head. You cut the club head off, keep about 2 in of the hosel, then heat and bend that stub into a curve, or weld a shaped piece of rod in its place. Charity shops sell single irons for a few dollars, and the shaft stiffness is better than anything you will find in a hardware aisle.
The third is the broom handle build, which is the beginner option and the one with the shortest life. A wooden or fiberglass handle takes a bent metal bracket or a heavy gauge U bolt screwed to the end. It is easy, it costs almost nothing, and the joint between wood and metal is the part that eventually works loose. If you go this route, use a through bolt rather than wood screws, and check it before every session.
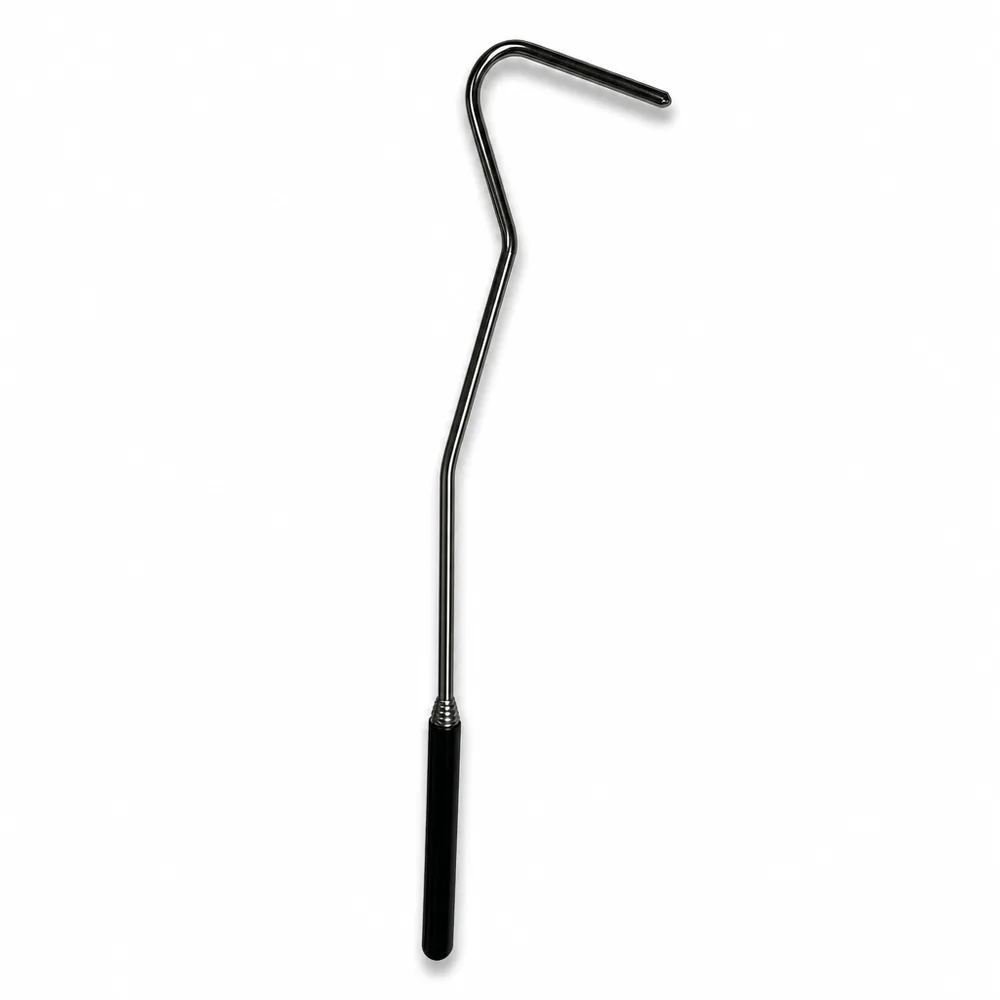
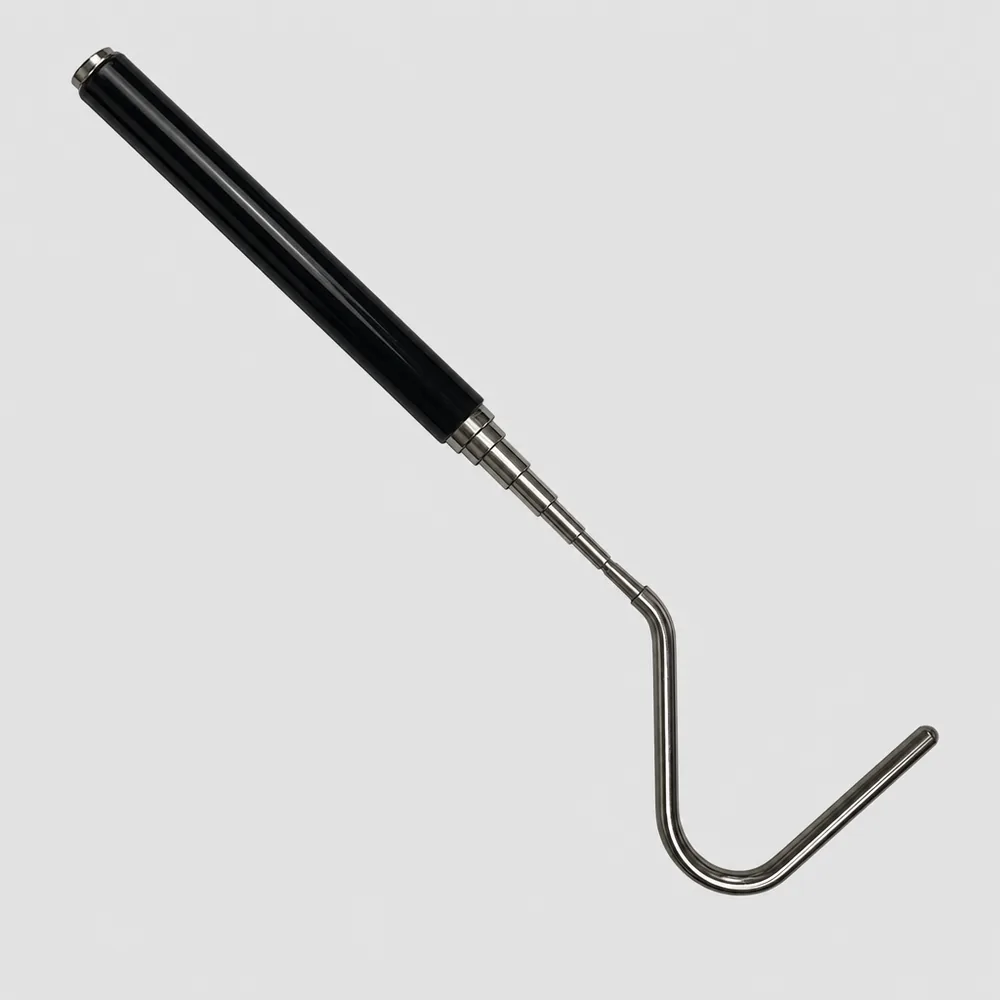
Whichever you pick, the target dimensions are not arbitrary. For enclosure work with colubrids and small pythons you want somewhere between 20 and 30 in of shaft, and a bend of roughly 1.8 by 2 by 2.2 in (4.5 by 5 by 5.5 cm). That is the geometry our own hook uses, and it exists because it is wide enough for a body to rest across and shallow enough that nothing gets trapped. The specifications on the hook page list the rest of the numbers if you want to copy them.
What a homemade hook really costs
| Build | Parts | Typical parts cost | Tools you need |
|---|---|---|---|
| Rod and bend | Steel rod, grip tape or heat shrink | Around $8 to $15 | Vise, hacksaw, file, torch helps |
| Golf club conversion | Thrift store iron, rod stub | Around $5 to $20 | Hacksaw or angle grinder, vise, torch or welder |
| Broom handle | Handle, U bolt or bracket, through bolt | Around $10 to $18 | Drill, wrench, file |
Those are parts costs, and they are the reason DIY is popular. What the table cannot show is the tool cost, which is zero if you already own a vise and a file and considerable if you do not. A bench vise alone runs more than a finished hook. The second hidden cost is the failed first attempt, because almost nobody gets the bend radius right on the first try. Budget two pieces of rod.
For a market anchor at the other end of the scale: a professional-tier titanium snake hook lists at $69.95 (professional-tier retail listing, 2026). So the real span is roughly ten dollars of parts at one end, twenty five dollars for a finished telescopic tool in the middle, and seventy for the professional tier. DIY saves you fifteen dollars against the middle, not fifty.
Where homemade hooks fail
The first failure is the edge. Every cut you make leaves a burr, and a burr on the inside of the curve is exactly where a snake's ventral scales slide. It does not cut on the first lift. It abrades over weeks, and the damage shows up as dull, roughened scutes at the next shed. Deburring is not an optional finishing step, it is the step that decides whether the tool is safe. File the cut end round, then work through progressively finer emery cloth until you can run a thumb along the whole curve at speed and feel nothing. If it catches on a nylon stocking, it will catch on a snake.
The second failure is bend depth. Homemade hooks are almost always bent too far, because a deep hook feels more secure to a person holding it. It is not more secure for the animal. A deep, narrow curve turns into a pinch point when a snake shifts its weight, and the body gets wedged in the bend instead of resting across it. The correct shape is closer to a shallow J than to a fishhook. A snake should be able to pour off the side without any resistance at all, because the ability to leave is what keeps it calm.
The third failure is shaft flex. A quarter inch aluminum rod at 30 in will bend visibly under a mid sized ball python, and once the shaft flexes the snake feels the surface moving underneath it and starts searching for something stable. That search is what precedes most drops. Steel is stiffer than aluminum at the same diameter, a shorter shaft is stiffer than a long one, and a tapered golf club shaft is stiffer than either at the tip where it matters. Test the flex loaded, not empty.
There is a fourth failure that is specific to the broom handle build, which is the joint. Wood screws in end grain pull out. They pull out slowly, so the hook feels fine right up until the head rotates during a lift. Use a bolt that passes all the way through the handle, and retighten it as a habit.
How to test a build before it touches a snake
Run the stocking test on the curve first. A pair of cheap nylons dragged along the inside of the bend will snag on anything a scale would snag on, and it costs a dollar to find out.
Then load it. Hang three to five pounds from the curve, which is more than any animal a compact hook should be lifting, and look at the shaft from the side. Visible flex means shorten the shaft or go up a diameter. Any permanent bend that stays after you remove the weight means the material is wrong.
Then lift something inert. A length of garden hose or a coiled rope on a towel behaves enough like a snake for you to learn the wrist angle, and it lets you check whether the bend releases cleanly or holds on. Practice the middle third lift described in our technique guide until it is automatic. Technique matters more than the tool, and that is as true for a homemade hook as for a bought one.
Finally, check it before every single session for the first month. Bends relax, joints loosen and burrs reappear where a file left a soft edge. A store bought hook gets checked once. A homemade one earns its trust over time.
When buying starts to make more sense
Buy when you need it to collapse. This is the one thing DIY genuinely cannot replicate at home. A six section telescoping stainless shaft that goes from 7 in (18 cm) to 26 in (66 cm) and holds by friction at any length in between is a manufacturing problem, not a garage problem. If the hook has to live in a jacket pocket or a glovebox for road cruising, a fixed 24 in rod stays in the garage and the collapsible one comes with you.
Buy when you keep more than a few animals. A single length is a compromise across a rack. Short for a hatchling tub on a shelf, long for a defensive adult at the back, and a fixed shaft only does one of those well.
Buy when you do not own the tools. If the vise, the file and the torch are not already in the garage, the DIY path costs more than the finished tool and delivers a worse bend. That is not a sales argument, it is arithmetic.
And skip both if the animal is outside the range of a compact hook. A homemade quarter inch rod and our $24.95 hook fail at the same place, which is an adult boa or a retic. That job needs a full size heavy hook and a second person. It is the same honesty we apply on the tongs page and in the catching guide, and you can see how the two tools split the work in the hook versus tongs comparison. What buyers reported about the limits of ours is on the reviews page, and the testing method behind those limits is on how we test.